From Blurry to Breathtaking: A Beginner’s Guide to Sharp Bird Photography
Sharp Shots, Lean Budgets: The Ultimate Beginner Bird Photography Tips Guide
Capturing a bird in mid-flight or frozen perfectly on a branch is an exhilarating feeling. However, many beginners quickly face a frustrating reality: a memory card full of blurry shapes, out-of-focus wings, and dark silhouettes.
If your recent photos look more like abstract watercolor paintings than crisp wildlife portraits, do not give up. I recently started nature photography as a new hobby simply because I love animals, and I am still in the early stages of the learning process myself. As I navigate this exciting hobby, I want to share my own journey alongside the practical things I am discovering along the way.
You truly do not need a $2,000 professional lens or decades of experience to capture breathtaking wildlife images. By mastering a few foundational techniques, understanding how to work with natural light, and choosing the right budget-friendly gear, you can drastically improve your sharpness overnight. Here is a practical, stress-free guide to help us both take sharp, stunning bird photos without breaking the bank!
1. The Secrets to Getting Pin-Sharp Focus
Birds move incredibly fast, and their small size can easily trick your camera’s automatic focusing system. If your camera keeps focusing on the background branches instead of the bird, use these techniques:


This is one of the hardest things for me to learn but I am learning little by little, every time I go out to photograph I practice the beginner bird photography tips below.
- Switch to Continuous Autofocus: Change your focus mode from Single Shot (AF-S/One-Shot) to Continuous (AF-C on Nikon/Sony/Fuji, AI Servo on Canon). This tells your camera to constantly recalculate focus as long as you hold down the shutter button, tracking the bird as it moves.
- Use Single-Point AF: Do not let the camera guess which object to focus on. Set your autofocus area to a single, small point. Move that point directly over the bird’s eye. If the eye is in focus, the entire image will look sharp.
- Try Back-Button Focus: This advanced beginner tip separates your focus trigger from your shutter button. By assigning focus to a button on the back of your camera, you can track a moving bird continuously without accidentally forcing the camera to refocus right when you press down to take the picture.
2. Mastering the Sun: Lighting Rules for Wildlife
Light can make or break your image. A perfectly sharp bird can look terrible if the lighting is harsh or coming from the wrong angle. Lighting was one of the beginner bird photography tips I needed to master.

- Keep the Sun at Your Back: As a golden rule for beginners, position yourself so the sun is directly behind you, shining over your shoulder straight onto the bird. This illuminates the bird’s colors beautifully and prevents muddy silhouettes.
- Shoot During the Golden Hours: The best light occurs during the first hour after sunrise and the last hour before sunset. The light is soft, warm, and low in the sky, which eliminates harsh shadows under the bird’s beak and wings.
- Watch Out for Silhouetting: If you point your camera up toward a bright, overcast sky to shoot a bird in flight, your camera will underexpose the bird. To fix this, increase your exposure compensation (+1 or +2) to force the camera to brighten the dark bird against the sky.
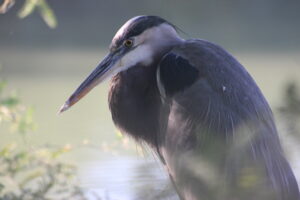
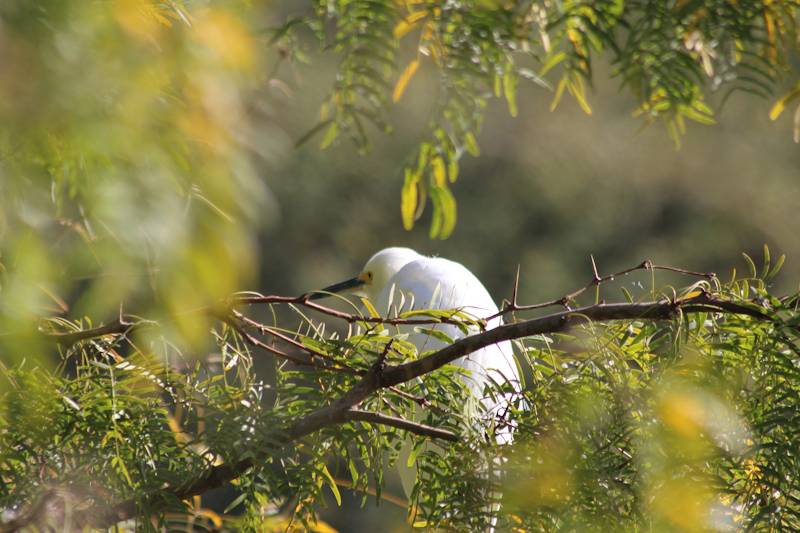
- Shooting into the Sun (Backlighting): Sometimes wildlife moves unexpectedly, forcing you to shoot with the sun directly in front of you. Instead of giving up on the shot, look for a dark background like heavy foliage or a deep canyon wall. The strong light coming from behind the bird will illuminate the edges of its feathers, creating a stunning, glowing “rim-light” effect that makes the bird pop out from the shadows.
3. How to Freeze Action Shots and Birds in Flight
Taking a sharp picture of a bird in flight requires speed. If your action shots look blurry, your camera’s shutter isn’t moving fast enough to freeze the motion.
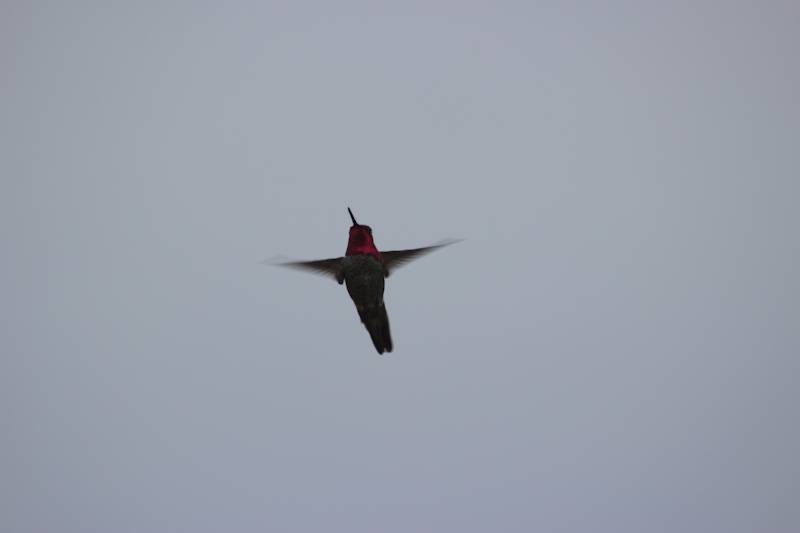
- Crank Up the Shutter Speed: This is the absolute key to freezing motion. For a bird sitting still, you can get away with a shutter speed of 1/500s. For slow-flying or large birds, use at least 1/1200s. For fast, erratic songbirds or hummingbirds in flight, push your shutter speed up to 1/2000s or 1/3200s.
- Use Burst Mode (Continuous Shooting): Never take just one picture of a moving bird. Switch your drive mode to continuous high-speed burst. Hold down the shutter button to snap a rapid succession of 5 to 10 photos. At least one or two frames in that sequence will catch the perfect, sharp wing position.
- Give Yourself Room to Crop: It is incredibly difficult to keep a fast-moving bird perfectly framed in the center of your lens. Shoot slightly wider than you think you need to. Modern camera resolutions allow you to crop closer to the action later on your computer while maintaining great detail.
4. Best Budget-Friendly Lenses (Under $1,000)
You absolutely do not need a $5,000 professional prime lens to put these beginner bird photography tips into action and get crisp wildlife photos. Major manufacturers and third-party brands offer incredible telephoto lenses that deliver massive reach for a fraction of the cost.
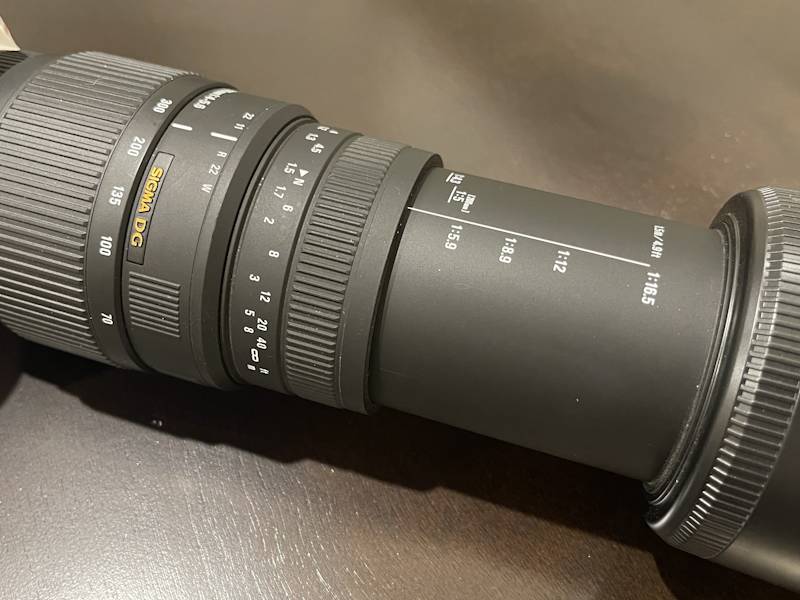
For my personal setup, I shoot with a Sigma DG 70-300mm autofocus lens on my Nikon body. It is a fantastic, lightweight starter lens that is teaching me the ropes of tracking and framing. My goal is to fully master this gear first, and once I do, I will probably upgrade to a 150-600mm lens to get that extra reach.
If you are looking for excellent entry-level telephoto options to start your own journey, here are the absolute best budget kings on the market right now:
- Sigma or Tamron 150-600mm f/5-6.3: Available for Canon, Nikon, and Sony, these lenses are the ultimate budget kingpins for wildlife. They offer massive 600mm zoom reach, solid optical image stabilization, and incredible sharpness for around $900 to $1,000.
- Canon RF 100-400mm f/5.6-8 IS USM: If you use a modern mirrorless Canon camera, this lens is remarkably lightweight, sharp, and usually costs under $650. It does not zoom quite as far as a 600mm, but its autofocus speed is lightning-fast.
- Nikon AF-S DX Nikkor 70-300mm f/4.5-6.3G ED VR: For budget DSLR shooters, this light lens offers excellent image stabilization (VR) and sharp optics for just a few hundred dollars.
5. Do You Really Need a Tripod?
A sturdy support system can help eliminate camera shake, but it can also slow you down when tracking fast targets.
- When to use a tripod: A tripod or monopod is essential if you are sitting in a blind, waiting by a stationary feeder, or using a massive, heavy lens for hours. It saves your arms from fatigue and guarantees zero handheld movement.
- When to go handheld: If you are walking through local wetlands or tracking birds flying erratically across the sky, handholding your camera gives you the freedom to pan quickly and react to sudden movements.
- The Stabilizer Rule: If you are shooting handheld, make sure your lens’s optical stabilization switch is turned ON. If you lock your camera onto a completely solid tripod, turn the lens stabilization OFF, as the inner glass elements can sometimes vibrate trying to correct motion that isn’t actually happening.
6. Smart Beginner Camera Setups
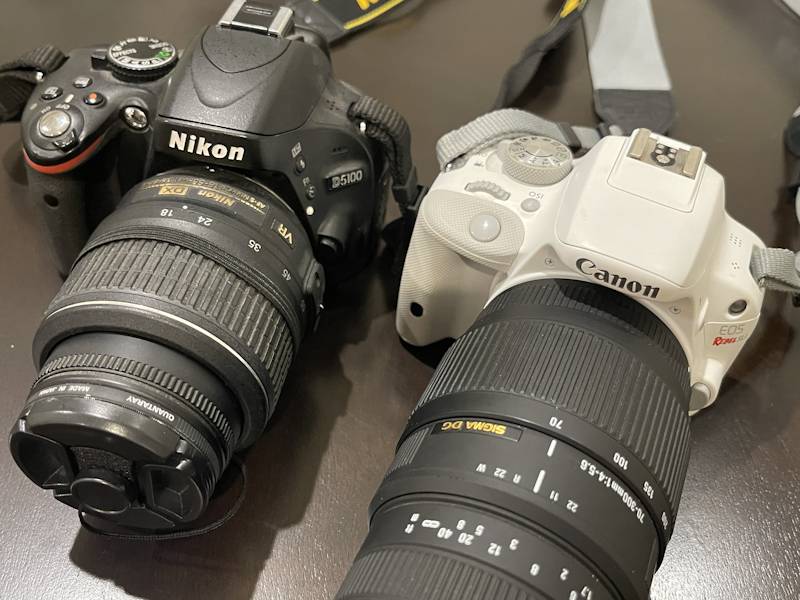
If you are looking to purchase your first dedicated setup or want to optimize your current gear to practice these beginner bird photography tips, aim for a system that offers fast autofocus and a high frame rate. To make things easier out in the field, I actually carry a two-camera setup with me everywhere I go.
This allows me to keep one body ready for wide landscape views and the other dedicated to telephoto shots, saving me from having to constantly switch out lenses while tracking fast-moving wildlife.
- The Budget Mirrorless Setup: A camera like the Canon EOS R10 or Sony a6400 paired with a 100-400mm lens. Mirrorless cameras are incredible for beginners because they offer real-time exposure previews in the viewfinder and advanced animal-eye tracking autofocus.
- The Budget DSLR Setup: A used Nikon D7200 or Canon 80D paired with a Sigma 150-600mm lens. Buying used DSLR gear is currently one of the smartest ways to get professional-grade sensor performance and autofocus reliability at an entry-level price point.
Quick Beginner Tips to Remember
The most important of all beginner bird photography tips is simple: remember to practice, practice, and then practice even more. Today’s modern DSLR and mirrorless cameras can hold thousands of digital photos that you can easily delete later, so do not be afraid to keep that shutter firing.
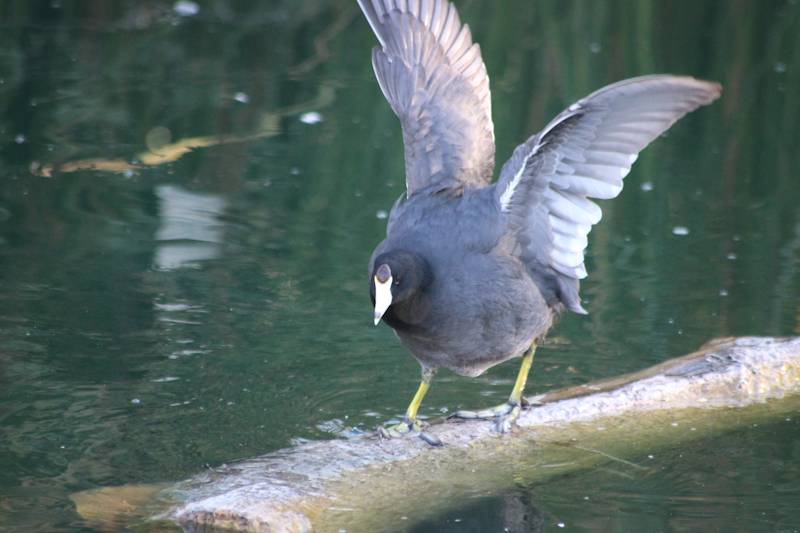
I truly wish I had embraced this mindset earlier in my journey before I was faced with capturing “must-have” moments in the field. I once had an incredible encounter with a pair of eagles, as well as a rare run-in with a brilliant red cardinal at the preserve. Unfortunately, both shots turned out completely blurry because I panicked and rushed the shot instead of relying on practiced muscle memory (see my actual photo below).
Learn from my mistakes: use common backyard birds to build your confidence and test your settings daily. That way, when a rare or spectacular bird suddenly lands in front of your lens, you won’t have to think—you will just calmly execute the perfect shot.

- Practice on common birds: Do not wait for a rare hawk to practice your panning. Spend an afternoon tracking common backyard pigeons, ducks, or crows to build your muscle memory.
- Learn bird behavior: The best wildlife photographers are actually animal experts. If you learn to notice the warning calls or behavioral cues a bird gives right before it takes flight, you will always be ready to capture the action.
- Get low and patient: Try to position yourself at eye level with the bird rather than shooting up at it from a high angle. Sit quietly, let the local wildlife get used to your presence, and let the action come to you.
- Be prepared: Take an extra SD card and camera batteries, just in case. I cant tell you how many times I have run the only battery I had low in the camera.
Capturing the Perfect Shot Takes Patience, Not a Fortune
At the end of the day, the secret to stunning wildlife portraits isn’t hidden inside a luxury price tag—it is built on patience, practice, and mastering your camera settings. Blurry photos are simply a natural part of the learning curve that every professional photographer had to climb.
By freezing your action shots with fast shutter speeds, tracking eyes with continuous autofocus, and utilizing free, natural sunlight, your percentage of keepers will skyrocket. Grab your budget lens, head out to your local park or wetlands, and enjoy the process. The more time you spend immersed in nature observing your subjects, the faster those sharp, breathtaking images will follow!
Fun Facts: Local Species to Hunt for at the Riparian Preserve
Now that you have your camera settings dialed in, it is time to put your skills to the test! The Riparian Preserve at Water Ranch right here in Gilbert is a certified global birding hotspot where over 300 different species have been spotted.
While you will see plenty of mallards, sparrows, and doves, keep your lens ready for these exciting, iconic, and rare regional birds:
- The Northern Cardinal: Yes, they are here! While famous in the eastern US, seeing a brilliant red male Northern Cardinal dart through the Sonoran desert brush is an absolute thrill for local photographers. They love the dense mesquite thickets near the preserve’s water trails.
- The Phainopepla: This striking, glossy-black bird looks like a dark cardinal with a dramatic crest and piercing red eyes. When they take flight, they flash brilliant white wing patches—the ultimate test for your high-speed burst mode!
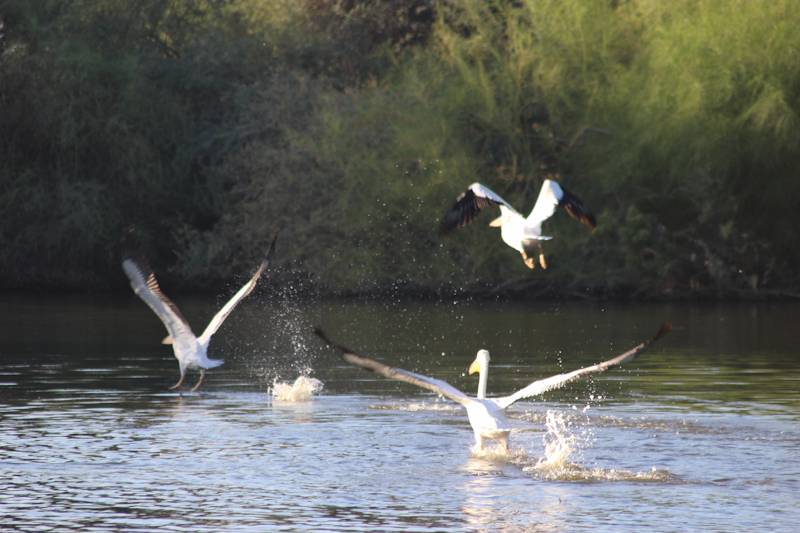
- American White Pelicans: You might expect these massive birds on a coastal ocean beach, but they regularly stop by the deep recharge basins during the cooler winter months. Their huge size makes them great targets for practice panning.
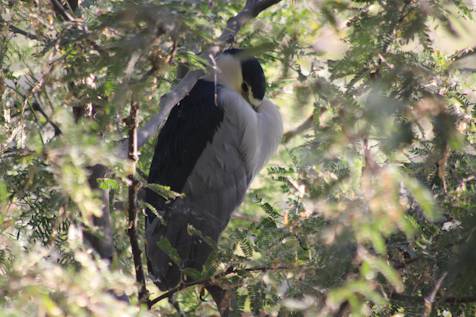
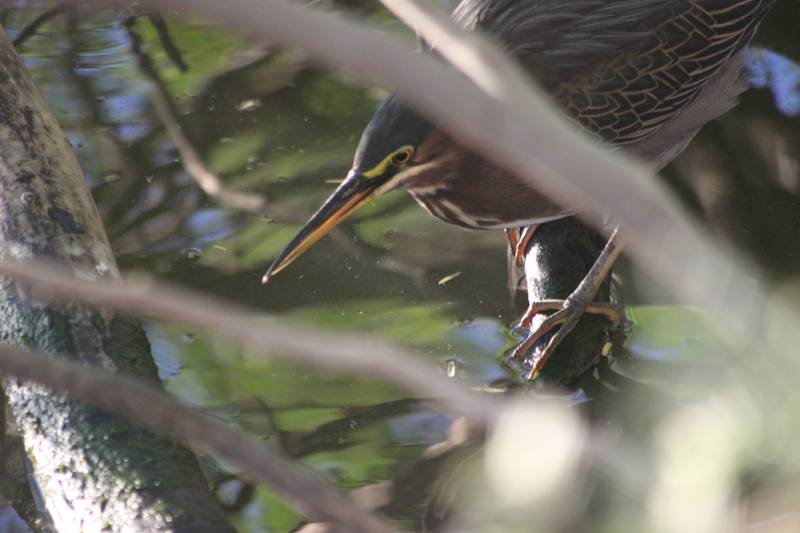
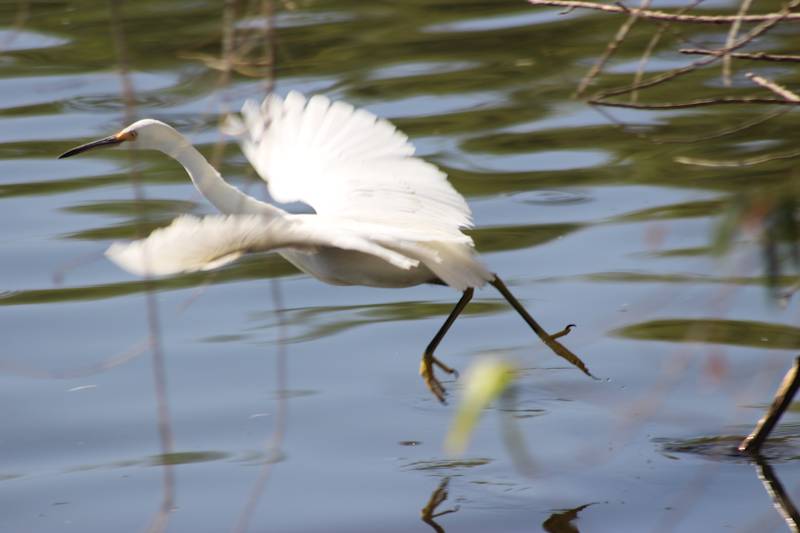
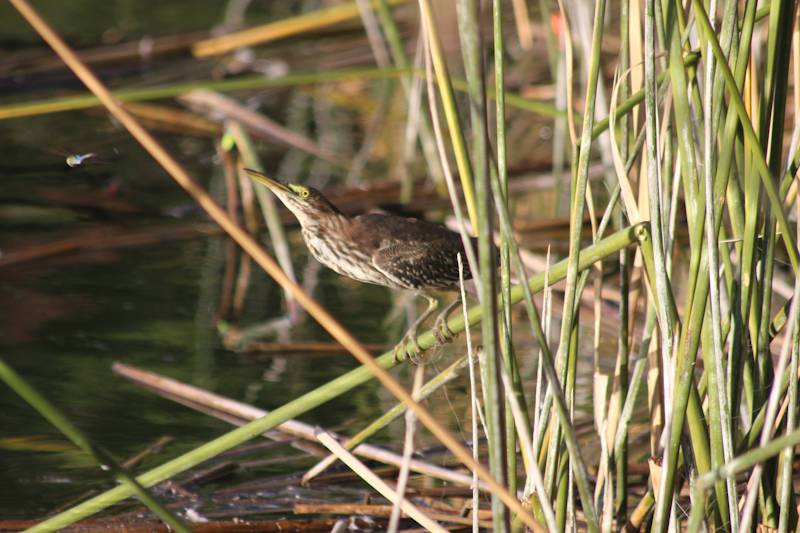
- The Green Heron: Unlike the massive Great Blue Herons that stand out in the open, the smaller Green Heron is a master of camouflage. They crouch low along the reed edges and cattails, providing a fantastic challenge for your single-point autofocus. See an actual photo I took above.
- Verdins & Black-Tailed Gnatcatchers: These tiny, energetic songbirds are always bouncing around the desert scrub. Because they rarely sit still for more than a second, capturing a sharp photo of them is a true badge of honor for beginner wildlife photographers.
- Cinnamon Teal: Keep your eyes on the water for these beautiful ducks. The males feature a stunning, rich coppery-red plumage that looks incredible when captured during the warm golden hours.
- The Mexican Duck: Often confused with a standard female Mallard, this southwest specialty is a distinct species. Photographers love capturing them because they look like a darker, sleeker version of a Mallard, but with a bright solid-yellow bill on the males
- The Wood Duck: While incredibly colorful, they are highly elusive in Arizona and prefer quiet, hidden wetland corners. Spotting one resting under the brush at the preserve is a lucky find.
- Blue-Winged Teal: While Green-Winged and Cinnamon Teals are common winter visitors, the Blue-Winged Teal is much harder to spot. Catching one on camera requires looking for the distinct white facial crescent on the males.
- Eurasian Wigeon: A very rare visitor to Maricopa County. Birders from all over the valley keep tabs on local eBird Alerts to rush to the preserve if one accidentally migrates into the ponds with the American Wigeons.
- Canvasback: Known for their striking wedge-shaped profiles and bright red eyes, these diving ducks drop by during deep winter but stick to the middle of the large basins, testing your lens reach.
Want to learn how to identify more local wildlife before your next morning trek? Check out the official National Audubon Society Bird Guide to explore species profiles, look up migration patterns, and listen to bird calls!