How to Maintain Acrylic Pickleball Court Surfaces: Easy DIY Guide
How to Maintain Acrylic Pickleball Court Surfaces: Easy DIY Guide
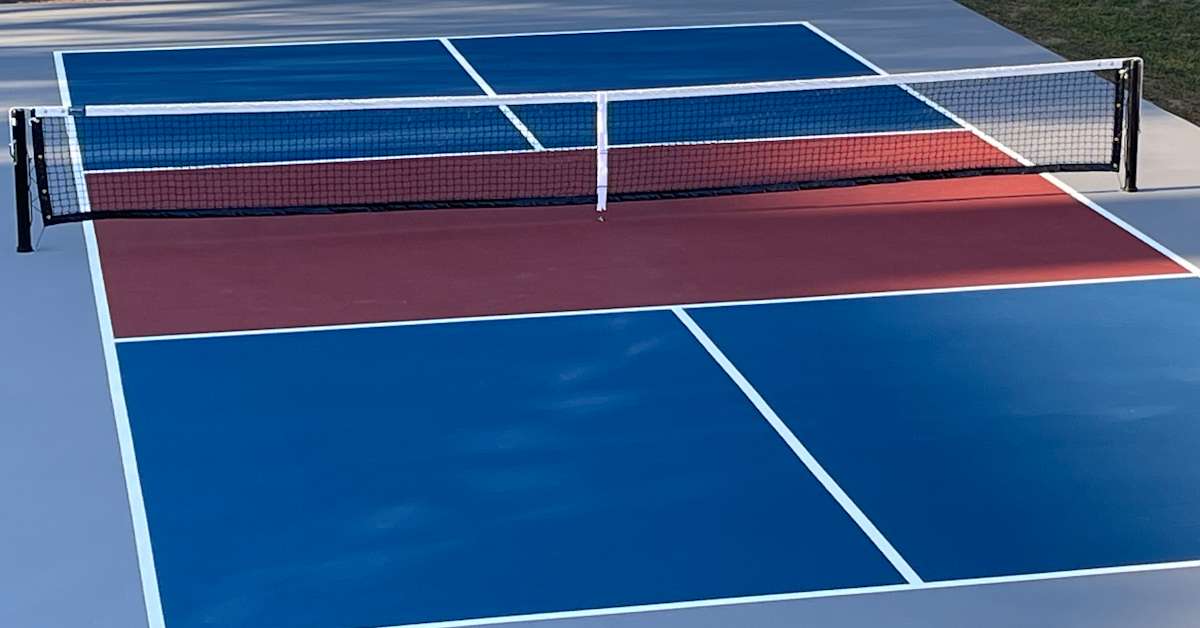
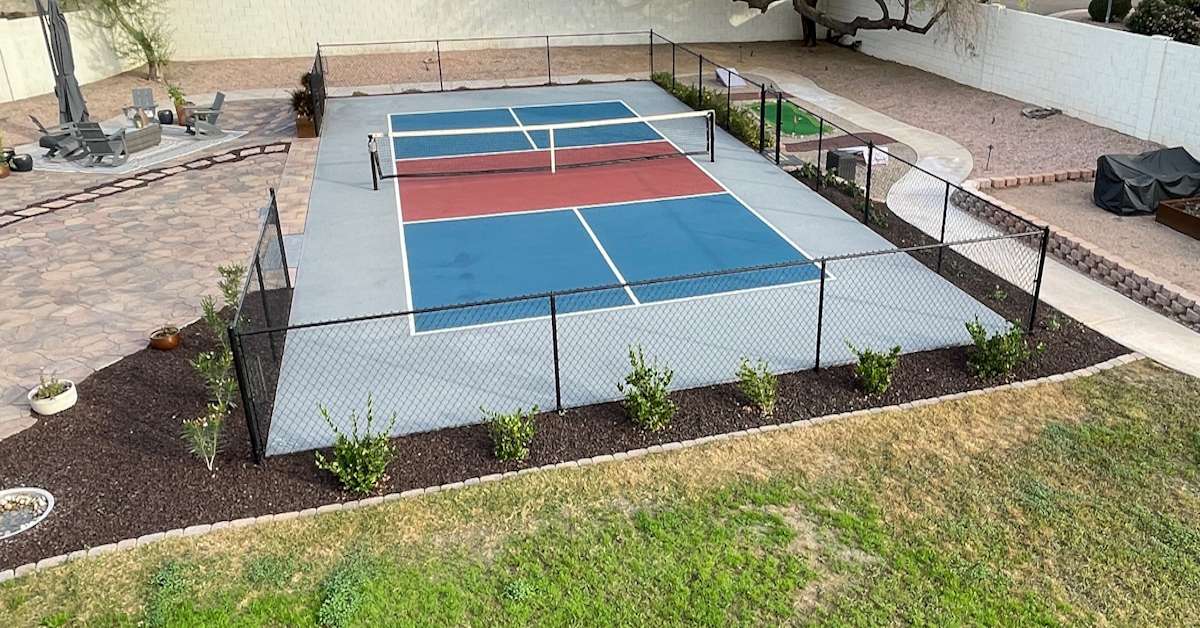
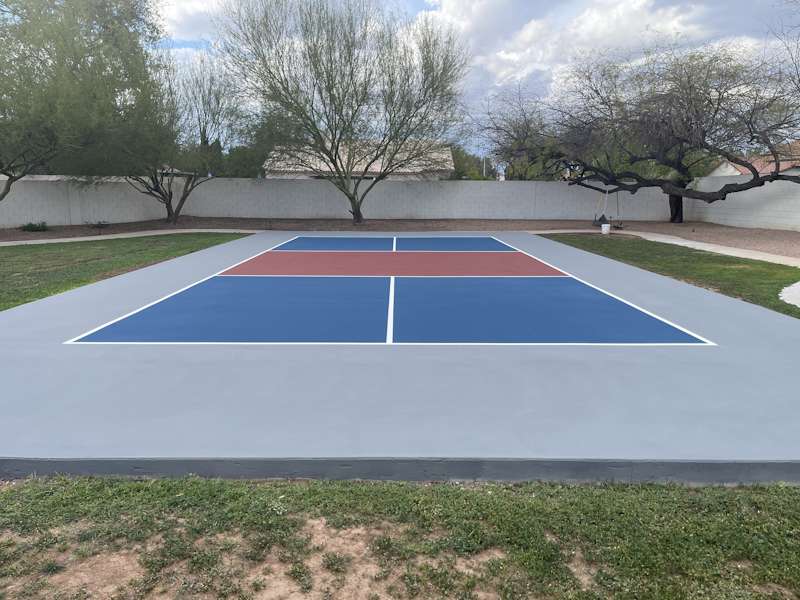
Building a home playing surface and transforming your lawn into a sporting setup is a massive milestone. However, once the concrete is cured and the textured paint layer is applied, a critical responsibility begins. You must understand how to safely maintain acrylic pickleball court surfaces to keep the layout safe, beautiful, and performing like a professional club.
An acrylic sports coating demands completely different care than a standard concrete driveway or home patio. Using the wrong cleaning tools, harsh chemical cleaners, or incorrect power washers can permanently strip away your traction textures, fade the court colors, and void your surface warranty.
This step by step homeowner’s maintenance guide details exactly how to protect your investment and keep your playing area in pristine, tournament ready condition.
1. Daily and Weekly Debris Management
The absolute number one enemy of a premium backyard sports surface is standing organic debris. Leaves, pine needles, twigs, grass clippings, and loose dirt do far more than just look messy. They trap moisture flat against your acrylic coating layers.
Over time, this trapped moisture can cause the paint layers to bubble, peel, or grow dark mold pockets that completely destroy player traction.
The Essential Tools for Fast Upkeep
- The Broom-Squeegee Combination: Investing in a heavy duty broom squeegee combo tool is a game changer for outdoor setups. This dual purpose tool features stiff nylon bristles on one side to easily sweep away heavy wet leaves or pine needles, and a thick rubber squeegee blade on the other. After heavy rainstorms, flip it over to the squeegee side to effortlessly push standing water puddles off the court, preventing permanent mineral ring stains and “birdbaths.”
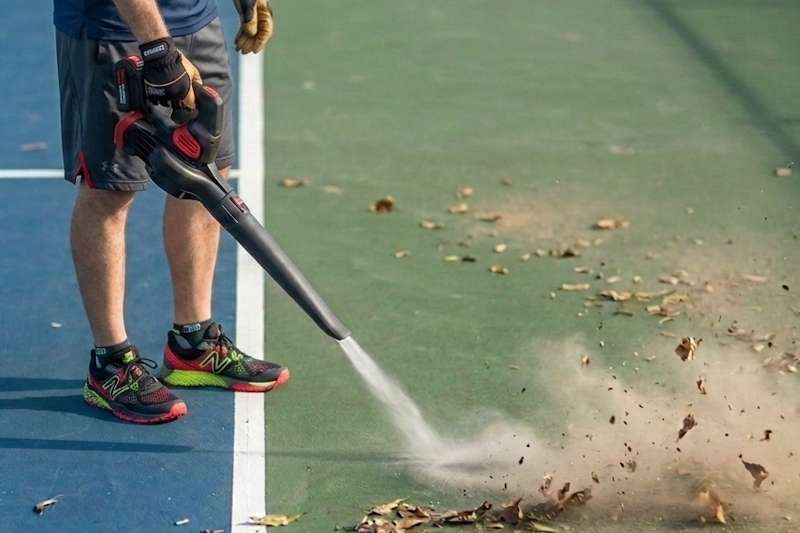
- The Leaf Blower: Instead of utilizing stiff-bristled street brooms that can abrasively scratch the textured silica sand right out of your paint, use a standard leaf blower on a medium setting to clear off surface debris. This tool is an absolute lifesaver in dusty desert climates like Arizona, where haboobs and daily winds coat everything in a fine layer of silt. Blowing the dust off the court before every match is crucial otherwise, that fine sand acts like sandpaper under your shoes, slicking your traction and rapidly wearing down the court’s color overlay.
2. How to Clean and Wash Your Court Safely
At least once or twice a year, your playing surface will need a thorough, deep washing to remove ground in dirt, pollen, airborne oils, and sweat.
Can you pressure wash an acrylic pickleball court?
Yes, you can pressure wash your court, but you must be incredibly careful. A standard high powered pressure washer can easily blast the textured paint layer right off the concrete pad if handled incorrectly.
To safely wash your court, adhere strictly to these operational boundaries:
- The Pressure Limit: Keep your machine set to a maximum of 1,500 PSI to 2,000 PSI. Anything higher risks gouging the underlying finish.
- The Nozzle Tip: Always use a wide, 40 degree fan nozzle tip (typically the white color-coded nozzle).
- The Distance: Keep the pressure wand tip at least 12 to 18 inches away from the surface at all times. Never use a pinpoint red 0 degree nozzle tip or sweep the wand close to the ground, as this will carve permanent scars into your color coatings.
The Safe DIY Court Cleaning Solution
To clean stubborn dirt patches or surface mildew without causing color fading, mix this gentle, non-abrasive solution in a standard bucket:
- Mix warm water with a mild, non chlorine household detergent (such as Dawn dish soap).
- For light mildew growth in shaded areas, add a highly diluted splash of household bleach (no more than 1 part bleach to 10 parts water).
- Scrub the stained area gently using a soft bristled nylon brush or push broom, then rinse the entire section thoroughly with a standard garden hose until the water runs completely clear.
📌 What to Read Next: Want to see exactly how we cleared our lawn, poured our concrete pad, and mapped out the official lines for this project? Check out our step by step chronicling of The Ultimate Backyard Pickleball Court Build to see how we brought this setup to life.
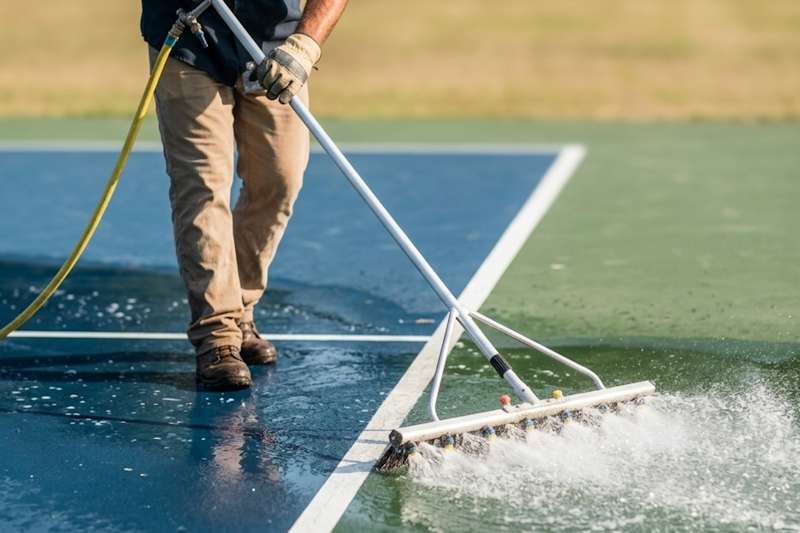
The Elite Upgrade: The 9-Jet Court Water Broom (Optional)
If you want the absolute ultimate setup for effortless deep cleaning, consider investing in a professional grade tennis court water broom.
The Catch: While it is arguably the best maintenance tool on the market, it is strictly optional because it is relatively expensive. Commercial models like the Water Broom Deluxe 9-Jet or the Deluxe 9 Jet Water broom typically retail between $290 and $330, making it a premium luxury upgrade rather than a bare necessity.
How it Works: This specialized tool rolls smoothly on heavy duty wheels and attaches directly to a standard garden hose. It features a wide, low pressure aluminum spray bar equipped with 9 precision brass jets that distribute water evenly across a massive 4 foot path.
Why it’s Superior: Unlike a traditional pressure washer wand that can easily gouge lines into your paint, a court water broom washes away surface dust and dirt using uniform, low pressure streams that are 100% safe for acrylic texturing. It cleans up to four times faster than a standard hose nozzle while using up to 90% less water.
3. Preventative Care and Damage Prevention
Learning to protect your playing area from structural harm is significantly cheaper than hiring a commercial asphalt contractor to patch and repaint a ruined zone. Implement these strict home rules to maintain acrylic pickleball court integrity for years to come:
Enforce Strict Footwear and Furniture Rules
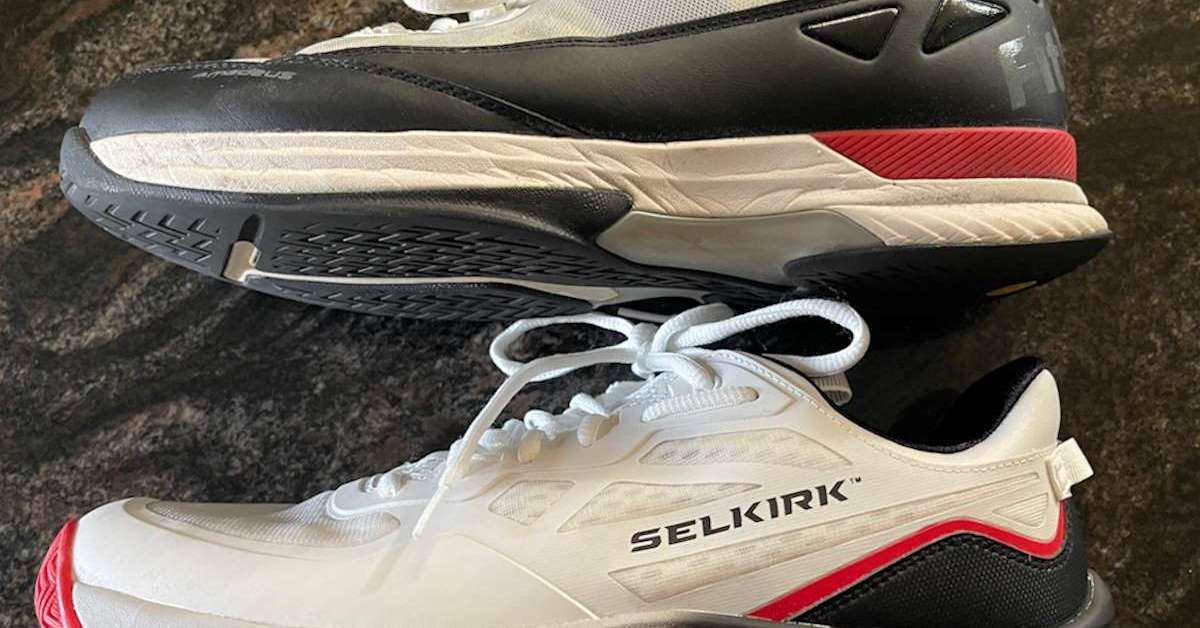
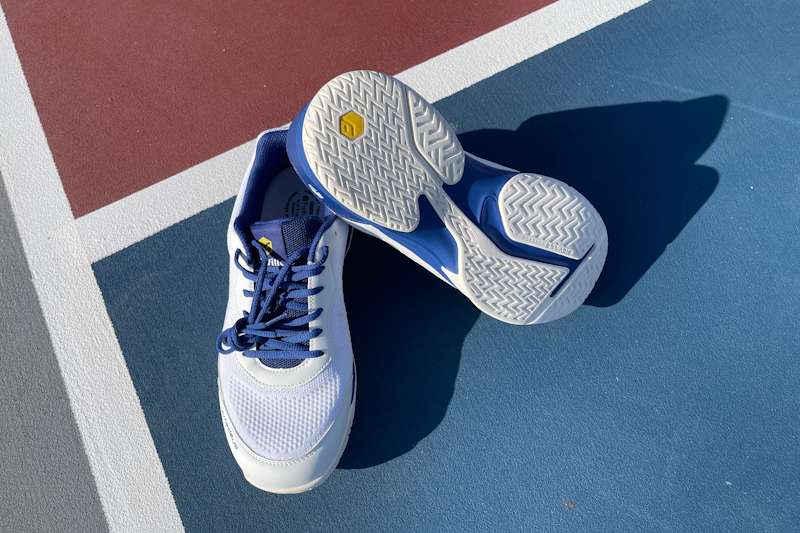
- Footwear Enforcement: Only permit non-marking athletic tennis or pickleball shoes on the surface. Hard street shoes, high heels, and heavy work boots will easily puncture, scuff, or scrape the top texture coating.
- Furniture Shielding: If you place spectator chairs, referee benches, or tables near your boundary lines, ensure they feature soft rubber caps on the bottom of their legs. Metal or hard plastic furniture legs will scratch the paint down to raw concrete when dragged across the floor.
Manage Your Surrounding Landscaping
Keep your adjacent lawn sprinklers adjusted so they do not spray hard tap water directly onto the court colors. Constant exposure to standard sprinkler water will leave stubborn white calcium and mineral scale deposits on your court that are incredibly difficult to scrub away without harsh, damaging acids.
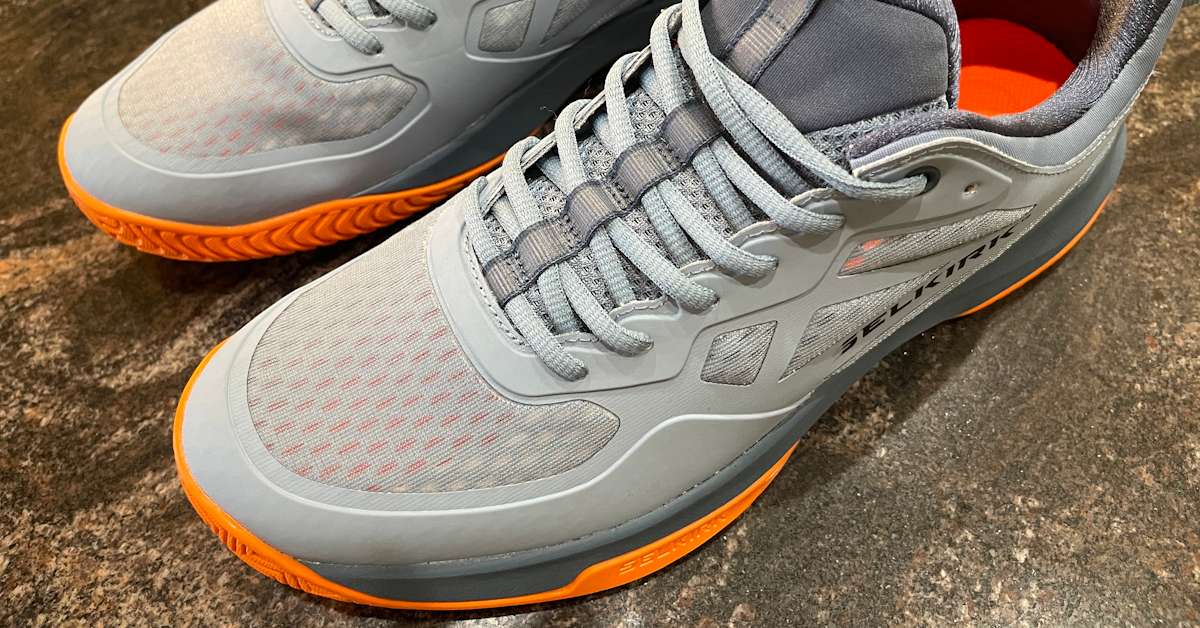
📌 What to Read Next: Playing daily on a freshly cleaned, highly textured backyard court will wear through standard running shoe outsoles fast. Read our comprehensive Selkirk Courtstrike Pro 3.0 review to learn how its built-in outsole replacement warranty protects your gear budget.
4. The Arizona Strategy: Water-Free Court Cleaning
In arid desert regions like Arizona, washing down a 1,800-square-foot sports layout with hundreds of gallons of water is often a luxury or flat out restricted. Fortunately, you can keep your court immaculate and dust free using completely waterless techniques.
The Industrial “Dust Loop” Method (Snag-Free)
While your leaf blower is great for blasting away coarse gravel after a dust storm, it cannot lift the ultra fine, microscopic dust layer that bonds to the textured paint. To remove this fine silt without water, you cannot use standard fuzzy household microfiber cloths the sandpaper like texture of the court will instantly shred them into lint.
- The Correct Tool: You must use a massive, 36-inch or 48-inch industrial canvas-backed string mop or a flat-loop split microfiber pad specifically rated for outdoor sports surfaces. These are made from tightly woven, industrial-grade loops that glide over grit without snagging.
- The Technique: Walk the court in straight lines, overlapping your passes. The tight fibers mechanically grab and lock onto the micro-dust without scratching the paint texture. When finished, simply step off the court boundaries and shake out the pad.
Spot-Cleaning with Inverted “Shop-Vac” Technology
Instead of hosing down the entire surface just because of a few bird droppings, stray soda spills, or oily footprints, utilize a highly targeted spot clean strategy:
- Spray the individual stain directly using a handheld spray bottle containing your mild DIY dish soap mixture.
- Let it sit for 60 seconds, then gently scrub the spot using a soft bristled handheld brush.
- Instead of rinsing it away with a garden hose, use a heavy duty wet/dry Shop Vac to instantly suck the dirty water and soap residue straight off the floor. Wipe the spot dry with a clean microfiber cloth. This cleans the stain completely while consuming less than a single cup of water.