Bucket Composting: The Easy Way to Recycle Vegetable Scraps
Bucket Composting: Turning Weekly Meal Prep Scraps into Garden Gold
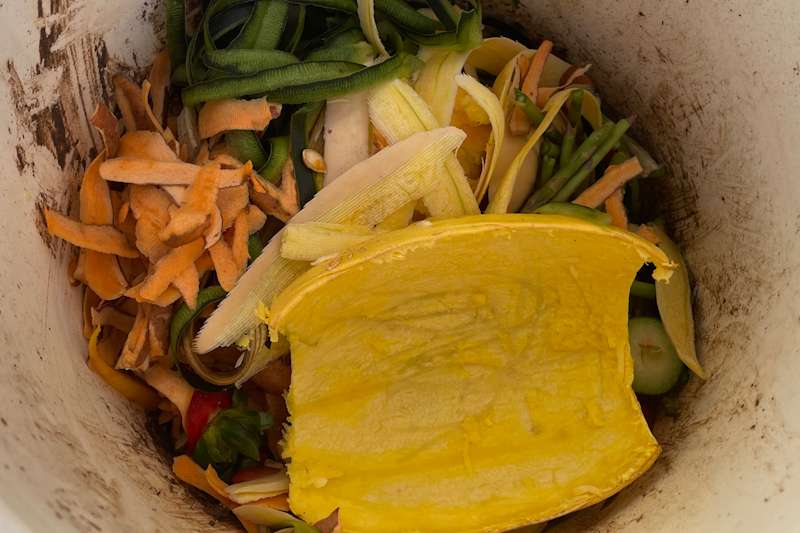
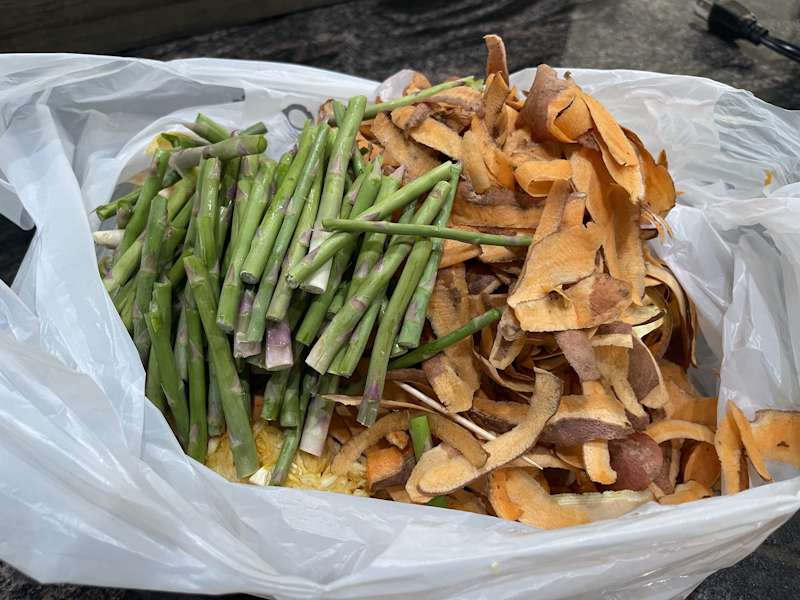
Meal prepping healthy dishes always leaves behind a mountain of food waste. Every weekend during my prep routine, I easily fill an entire grocery bag with sweet potato skins, spaghetti squash hulls, and asparagus ends.
While I always wanted to try recycling these scraps, I didn’t want to invest in an expensive, complex setup before knowing I could commit to it. That is when I discovered bucket composting. This budget friendly method has been incredibly easy to maintain and serves as the perfect secret weapon for my local Arizona gardening hobby.
Using a small 5 to 7.5 gallon container for small scale composting is the ultimate solution for compact yards, hot Arizona patios, or beginner gardeners. This approach diverts organic food waste away from local landfills and naturally transforms it into nutrient rich soil for your backyard plants. Here is exactly how to recycle your raw kitchen waste into garden gold using a simple, cost-effective DIY compost bucket.
What Can You Put in Your Vegetable Compost Bucket?
For successful small scale composting, you need to maintain a strict balance of raw organic materials. Your raw kitchen scraps represent “Greens,” which provide the vital nitrogen needed to power the decomposition process. When I do my weekly meal prep, I harvest a massive amount of these nutrient dense greens.
In the past, I would just throw them away without a second thought. Now, I have a foolproof way to generate homemade, nutrient rich soil for my garden using a cool, low maintenance DIY compost bucket setup that is absolutely perfect for my busy life.
🍏 Kitchen “Greens”
High Nitrogen: Fuels the composting process.
- Sweet potato skins
- Spaghetti squash hulls
- Asparagus ends & raw scraps
- Coffee grounds & tea bags
🍂 Yard “Browns”
High Carbon: Eliminates odors and balances moisture.
- Dry Arizona leaves & twigs
- Shredded brown cardboard
- Plain brown paper bags
- Dried yard clippings
Green Light: Excellent Vegetable Scraps
- Squash Hulls & Peels: Thick skins from spaghetti squash or zucchini break down beautifully.
- Root Veggie Trimmings: Sweet potato skins, carrot tops, and potato peels.
- Green Scraps: Asparagus ends, cucumber peels, and bell pepper cores.
Red Light: What to Keep Out of Your Compost Bucket
To prevent foul odors, buzzing pests, and unwelcome wildlife in a small 7.5 gallon container, you must filter what goes inside. Because a DIY compost bucket has a limited volume, it cannot reach the intense internal temperatures required to safely break down complex proteins and fats.Stick strictly to raw, plant-based kitchen waste and avoid these common culprits:
- Meat, Bones, and Seafood scraps: These decompose slowly, create rancid odors, and aggressively attract neighborhood pests, stray cats, and wildlife.
- Dairy Products and Eggs: Cheese, butter, milk, and whole eggs rot quickly, create a sour smell, and invite maggots into your small setup. Clean, crushed into fine powder eggshells are fine and add great calcium.
- Oils, Fats, and Greases: Cooking oils, salad dressings, and lard coat your healthy greens in a waterproof barrier. This suffocates the good bacteria and stops the composting process completely.
- Cooked or Seasoned Foods: Leftovers seasoned with salt, butter, or heavy spices disrupt the delicate moisture balance and can harm the local microorganisms breaking down your waste.
- Pet Waste: Dog or cat feces contain harmful parasites and pathogens that do not die in a small-scale compost bucket, making the final soil unsafe for vegetable gardens.
- Diseased Plants or Weeds: If you pull weeds or diseased leaves from your Arizona garden, keep them out. The bucket won’t get hot enough to kill weed seeds or plant diseases, meaning you will just spread them right back into your garden later.
How to Manage a 7.5-Gallon Compost Bucket
A small scale bucket needs a tiny bit of regular maintenance to prevent it from smelling, attracting flies, or turning into a slimy mess.
Because a 7.5-gallon container has a small footprint, it reacts quickly to changes in moisture and airflow. Managing it correctly takes less than five minutes a week and guarantees a fast, clean breakdown of your kitchen scraps
1. Always Balance with Carbon Browns
Your weekly meal prep scraps are packed with moisture and nitrogen. If you throw them into the bucket alone, they will quickly compact, lose oxygen, and start to rot. Every time you dump a container of vegetable waste into your bucket, cover it completely with a layer of dry carbon materials. Good options include shredded brown cardboard, torn paper bags, or dry yard leaves. Aim for a simple rule of thumb: use roughly two handfuls of dry browns for every one handful of wet kitchen greens.
2. Create Strategic Airflow and Drainage
Microbes need oxygen to break down organic matter efficiently without creating foul odors, but oxygen cannot reach the center if the contents settle into a tight clump. Keep a small hand trowel, a sturdy stick, or a small garden fork right next to your composting area. Once or twice a week, give the entire contents of the bucket a thorough stir. Bring the older, darker material from the bottom up to the top, and push the fresh weekly meal prep scraps down into the center where the microbial action is strongest.
Turning the pile also lets you check your moisture levels. Your compost should always feel like a damp, wrung-out sponge. If you live in a hot, arid climate like Arizona, a completely sealed bucket is actually a massive advantage because it traps the natural moisture of juicy vegetables like spaghetti squash and prevents the pile from drying out. Because of this, drilling airflow or drainage holes in your bucket is completely optional.
If you find your bucket gets too wet or soggy over time, you can always drill 10 to 12 small quarter inch holes around the top rim later. If the pile ever looks dry and dusty during your weekly turn, simply sprinkle a small cup of water over the top layer to keep the beneficial microbes active.
The One-Week Check-In: Checking Moisture and Adding Fresh Scraps
It has been exactly seven days since I sealed up my initial layers of kitchen greens and dry browns. Stepping out onto my hot Arizona patio, I was a little nervous to pop the lid. However, thanks to the tight seal and the correct initial balance of carbon, there was absolutely zero foul odor.
What the Compost Looks Like After 1 Week
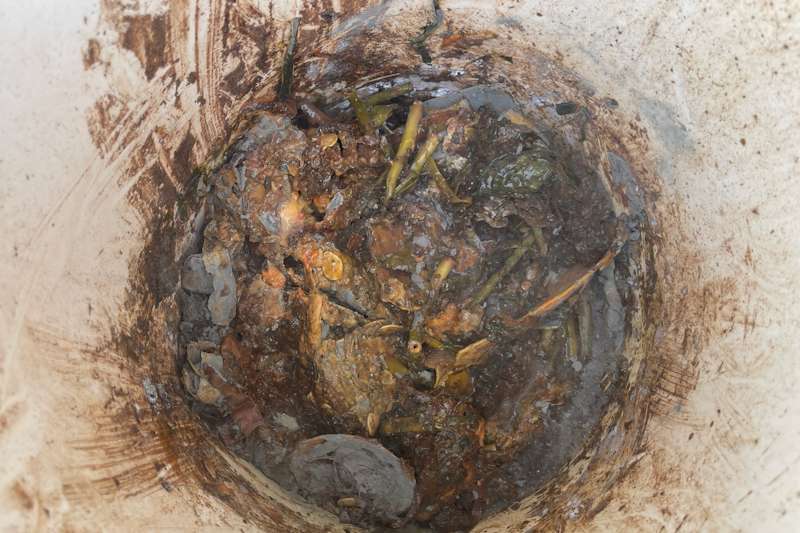
Looking inside, the transformation is already quietly beginning:
Moisture Trapped: The volume has settled slightly as the vegetable scraps begin to collapse and release their moisture into the dry browns.
Initial Breakdown: The vibrant colors of last week’s diced squash skins and veggie trimmings are starting to dull and soften.
Fungal Activity: A healthy, faint layer of white microbial fuzz (mycelium) is spreading across some of the scraps, a fantastic sign that the local decomposers are hard at work.
Feeding the System: Adding Soil and Fresh Greens
To keep the microbial momentum going and introduce even more beneficial local bacteria, I decided to toss in a couple of handfuls of native garden soil right on top of the older layer. This acts as a natural compost “starter,” supercharging the decomposition process.
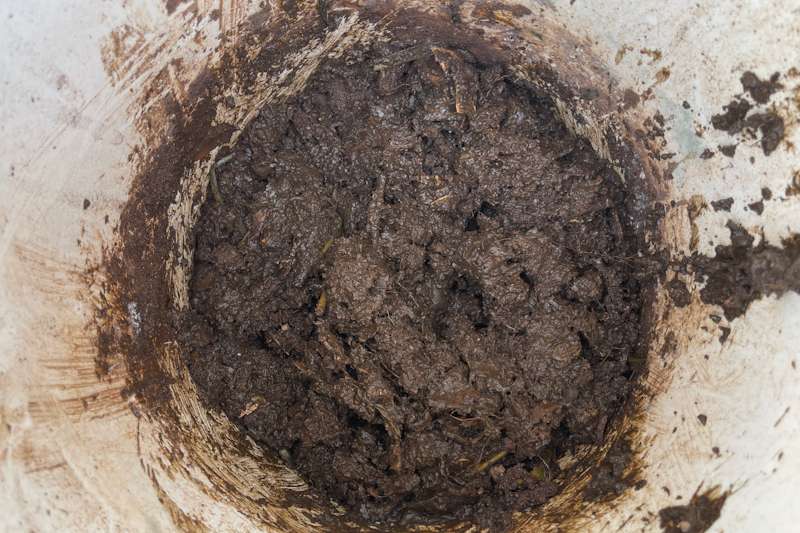
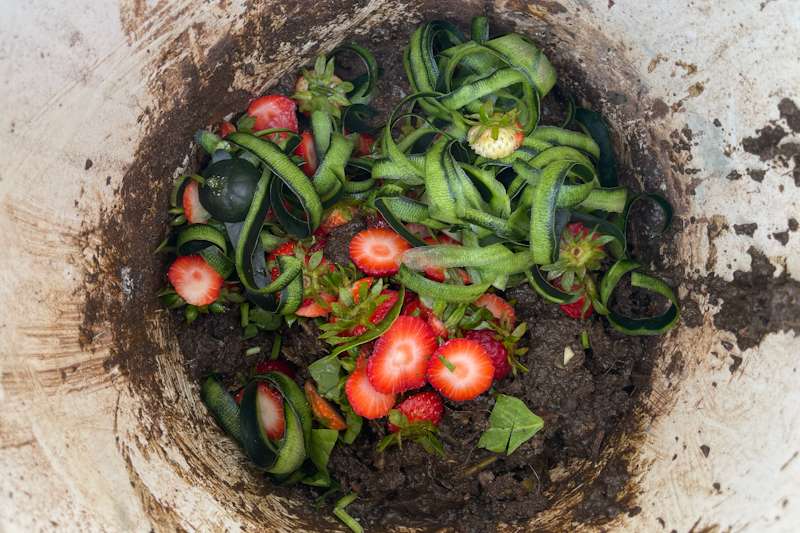
Next, it was time to add this weekend’s fresh batch of meal prep waste. I dumped in a fresh pile of nitrogen-rich greens, ensuring I immediately followed up with twice as many carbon browns to keep the system balanced, odor-free, and perfectly damp. After a quick turn with my hand trowel to mix the layers, the lid went back on for another week of hands-off transformation.
When is Your Compost Ready to Use?
Because a 7.5 gallon bucket is a compact system, it transforms your weekly meal prep waste into usable soil surprisingly fast. Depending on the outdoor temperature and how finely you chopped your veggie scraps, your homemade compost will typically be ready to harvest in 2 to 4 months.
Knowing exactly when your compost is done takes a quick sensory check. You will know your bucket composting project is a total success when it passes these three simple tests:
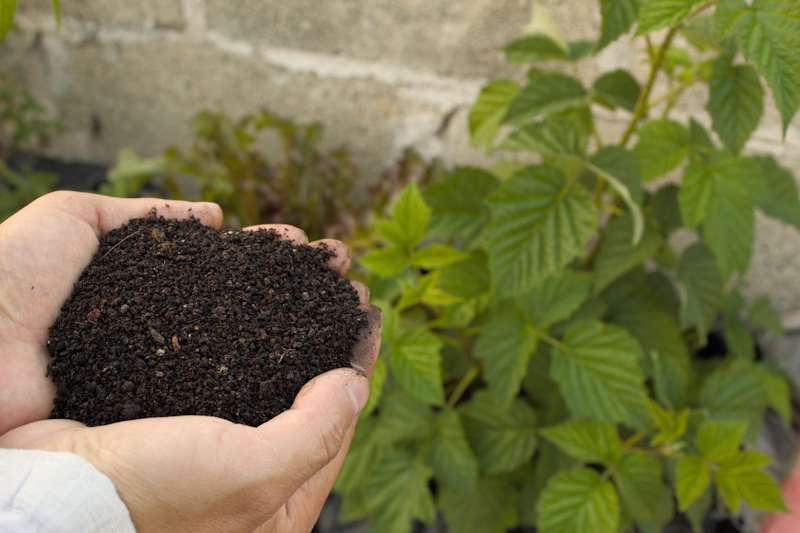
- The Appearance Test: The individual vegetable pieces, sweet potato skins, and squash hulls should completely disappear. The contents of your bucket should look like dark, rich, uniform, crumbly topsoil.
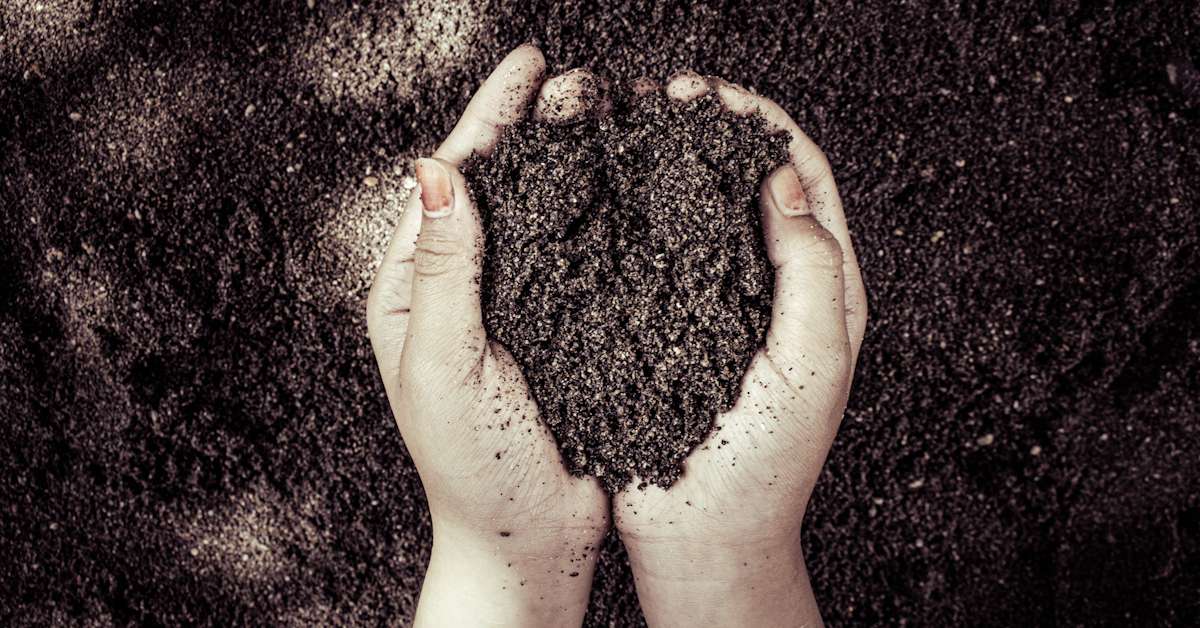
- The Scent Test: Your finished compost should lose all hints of sour kitchen odors. Instead, it should have a pleasant, deep, earthy fragrance, smelling exactly like a fresh forest floor after a heavy rain shower.
- The Temperature Test: Active compost generates heat as microbes break down organic matter. When your compost is completely finished, the pile will naturally cool down to match the ambient outdoor temperature, even after a fresh turn.
How to Harvest and Use Your Homemade Soil Mix
When your compost passes the tests, it is time to put it to work in your yard. If you notice a few stubborn, thick pieces like large spaghetti squash stems that have not fully broken down, simply toss them back into your next starter bucket.
You can use your fresh, nutrient-dense compost in three highly effective ways for your gardening hobby:
- Top-Dressing Your Plants: Spread a 1 inch layer of fresh compost directly over the soil around your existing backyard plants or raised garden beds. Every time you water, nutrients will leach deep down into the root zones.
- Custom Potting Soil Blend: Mix one part of your homemade bucket compost with two parts of standard store bought potting soil. This creates a powerful, vitamin rich potting mix perfect for container gardening on your patio.
- Amending Native Soil: If you are planting directly into heavy clay or sandy soil, blend your finished compost into the planting hole. It dramatically improves soil structure, helps hold moisture in dry weather, and feeds your plants naturally without chemical fertilizers.
Start Your Own Easy Compost Bucket Today
Turning your weekly meal prep scraps into nutrient rich garden soil is one of the most rewarding habits you can build. It takes a routine chore like chopping vegetables and transforms it into a sustainable cycle that feeds your plants and reduces kitchen waste.
You do not need an expensive setup, a massive backyard, or a ton of extra time to make a difference. With just a simple 7.5 gallon bucket and a good balance of kitchen greens and dry browns, you can easily create a high-yield composting system that fits perfectly into a busy lifestyle even in a hot, dry climate like Arizona.
Take a look at your kitchen scraps this week and see how much potential is sitting right on your cutting board. Your backyard garden will thank you for it!
What are you growing in your garden?
Are you ready to try bucket composting with your weekly meal prep scraps, or do you already have a small scale system running at home? Drop us a message below and let me know what questions you have about getting started, or share your favorite tips for gardening in dry climates!